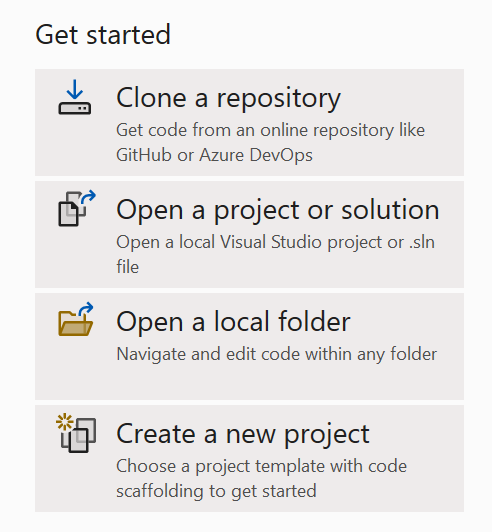
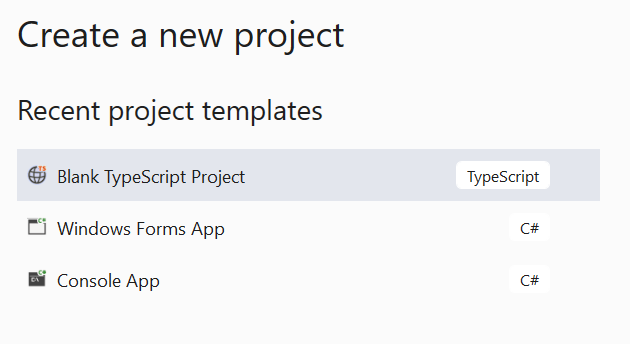
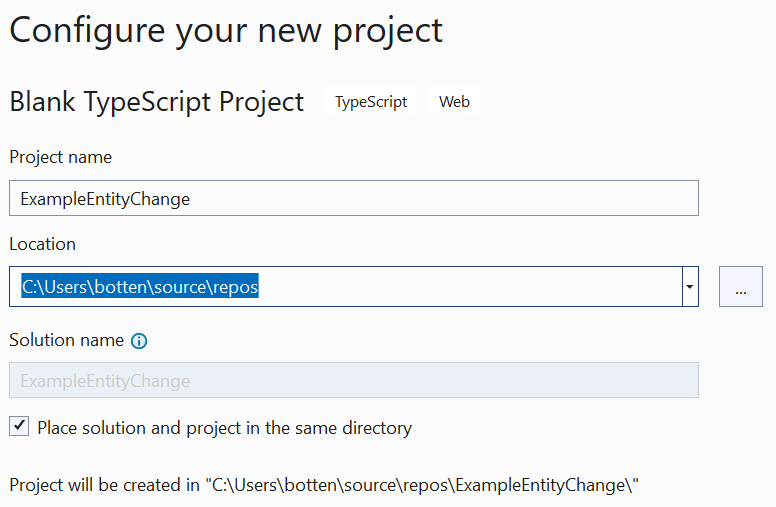
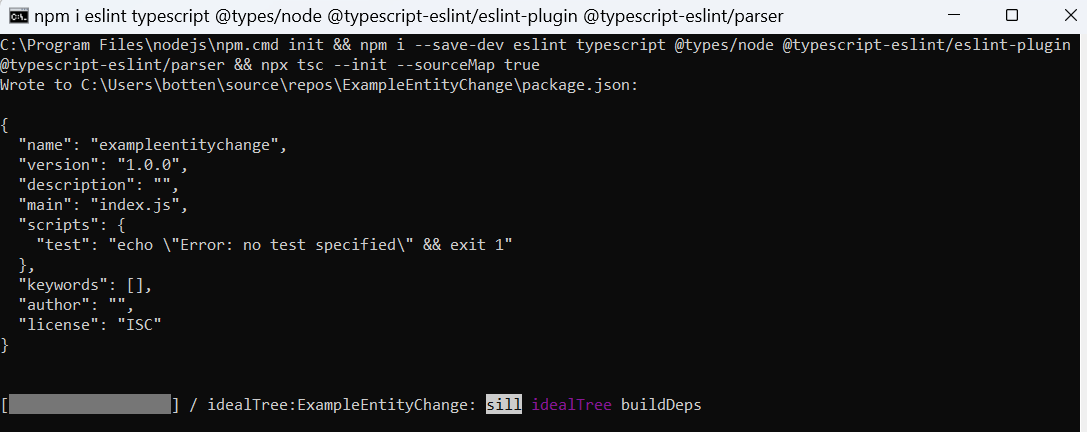
To start a new TypeScript project in Visual Studio, follow these quick steps:
- Open Visual Studio
- Create a new “Blank TypeScript Project”
- Include CRM Types in your project, execute in VS terminal: “npm install @types/xrm –save-dev”
- Add a new item to your VS project, “example-name.ts” file.
- Now let’s code!
Visual Studio Terminal tips
| Statement | Description |
| npm init | Create a “package.json” file, used for configuration. |
| npm install -g typescript | Globally add TypeScript packages. |
| npm install typescript –save-dev | Same as previous statement, but only in current folder. |
| npm install @types/node –save-dev | Install node types. |
| npm install @types/xrm –save-dev | Install CRM types. |
| tsc –init | Create a “tsconfig.json” file, configure the transpiler. |
Deploy the project
Right mouse click a TypeScript file and select “add link…”.


