Finally, your Visual Studio Project is ready to be published to the outside world. In the ideal world an end user chooses whether or not to install or update the application from a setup (HTML) page. No knowledge about html pages or such is needed. It’s all been taken care of by a wonderful automated process. This blog briefly describes how to publish a Visual Studio project.
Required tool: Visual Studio 2019 Pro
Quick steps

More information
- Add FTP account for easy access to deploy directory.
| Setting | Value |
| Session name | [Company name].com |
| Hostname | ftp.[Server IP or name].com |
| Username | projectname@[Company name].com |
| Password | ******** |
| Dir on host | /project-name |
- In Visual Studio, open your solution (that contains your project)
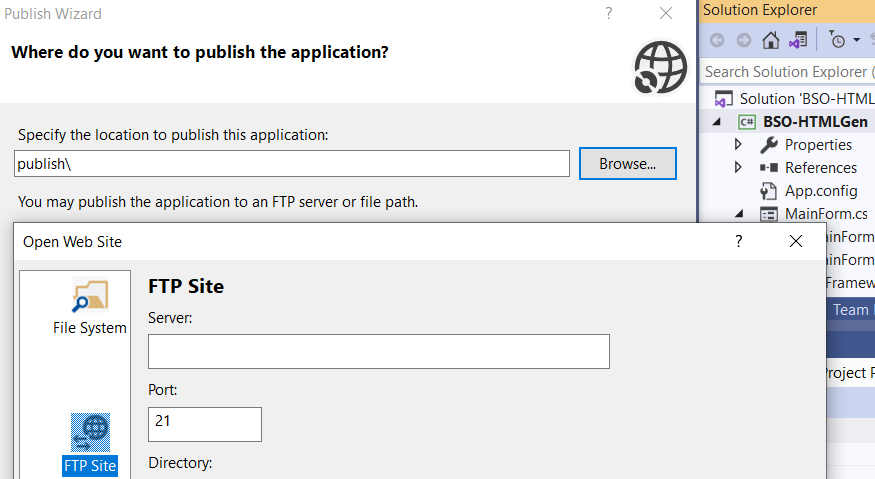
- Start the publish (wizard) on your Visual Studio Project
- Fill in the ftp connection settings
- Users will install the application from a website, so specify the target website URL
- The application will be available offline
- Finish the publish wizard to start the publish process.
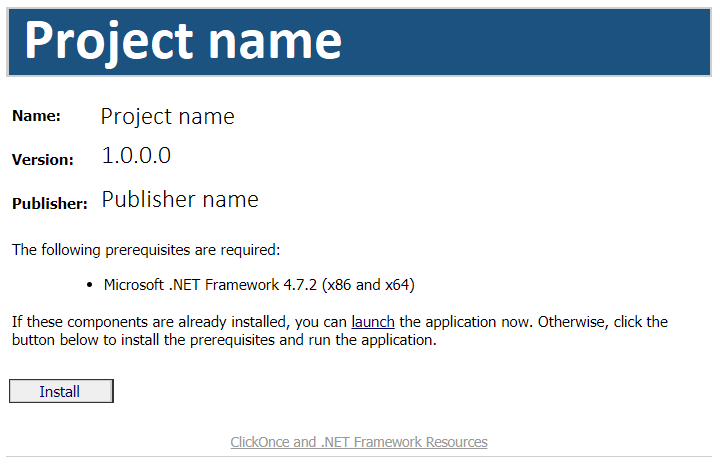
Now when you open the target URL, you should see something like this.
- Another path to publish is by opening the project properties. Open the tab page publish and use the publish now button.